Tuesday, November 23, 2010

I got a new toy!!!!

I went to a garage sale last week, and for $5 dollars!!


** FIVE DOLLARS!!***


I was able to score the most awesome,

cool,


neat,


strong,


powerful,

Sewing Machine!!!!!


I received it with all the attachments!


Here is just some more misc. photos for ya!


I thought this would be a great starter sewing machine for my children to learn on ....
So far my Dan made himself a cloth watch band and Mandi is making booties for her baby doll...

I'm sorry this has taken me so long to post, I seem to be having issues with Blogger.... :(

Wednesday, November 10, 2010

Clock Remake Tutorial

Well this is how it all starts-

This past week we had the time change, my husband tried to change the time on one of those cheap plastic clocks. (btw- I HATE time changes) For some odd reason the battery wouldn't work in it. I mean it only worked if you put it in half way. So, being who I am- I TOOK IT APART!!! As soon as I had it apart it magically decided to work.. Ain't that a booger... So I thought that since I had it apart I would do a little personal touch to it. So here it goes-


While taking the clock apart, make sure you remember the order the parts came off. It will help while putting it back together.

I scanned the face of the clock and with Adobe Photoshop C3. I added photos of our family using the layers with the 2nd one being at a lower fill level, so that the pictures were kinda see thru. (We still have children that are trying to learn to read an analog clock and they rely on the numbers)


I then cut out my printout the same size as the original face.
( I glued it on the face for the stability, but if you use heavy cardstock you might not need too)


I placed the face back on the clock then.


Replace all the clock hands back on the clock in the proper order.
(Make sure to put the battery in the clock before you put the cover on it to make sure the hands are going to move free without hitting each other.)


Then put the cover on it and wash all finger prints off of it (or in my case dust...)
Then hang.


Stand back and be proud that you made something with reminders of the people so dear to you.

Comments are always appreciated


Tuesday, November 9, 2010

Look what I've made!!!!

I've been sewing up a storm and I wanted to show you a bit of it!


1st-  I've made a roman shade for the kitchen window- the window is huge and slides from right all the way open to the left. I didn't want a normal set of curtains as they will be in the way and will get wet. 

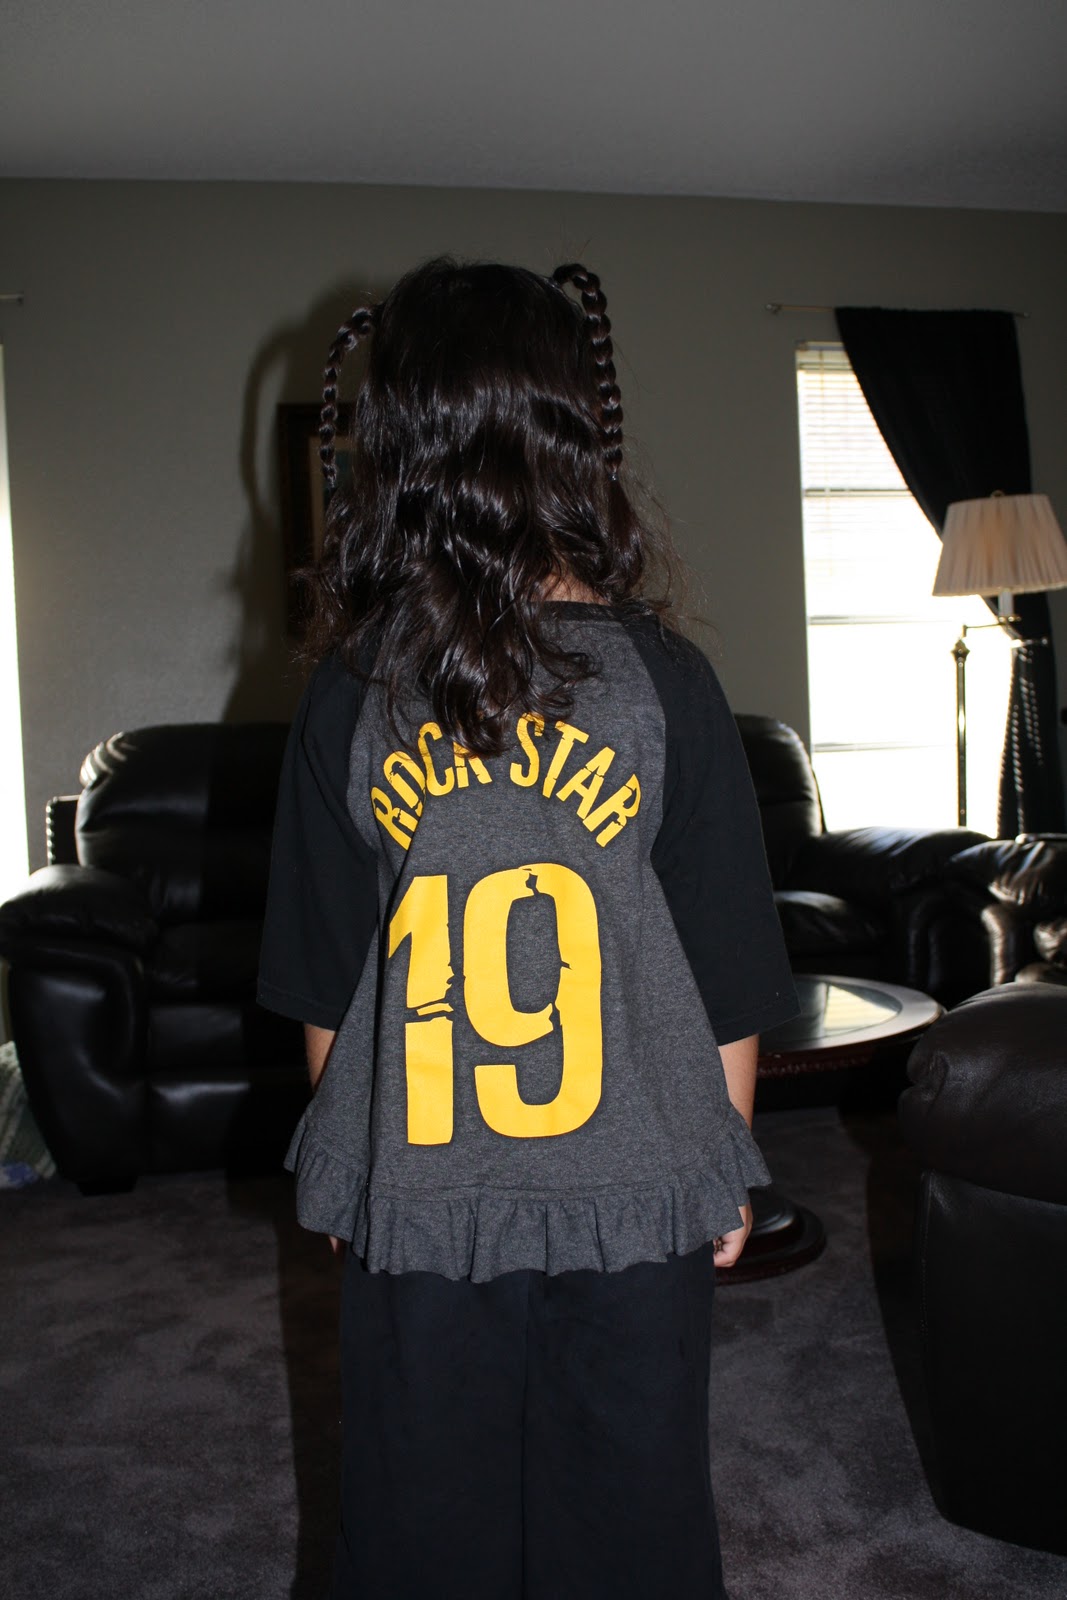
2nd- I made a baseball style shirt for Mandi out of my husbands old shirt.. (Thank you Wardeh for this tutorial)  I knew she would love it cause it says "Rock Star" across the back. The only thing was it had a slogan for alcoholic drink on the front... I tried everything I could think to get it off- rubbing alcohol, nail polish remover, blow dryer, and mineral spirits. NOTHING was getting this off!!!!  So I did what I thought was a good thing- I put that part of the shirt inside out!  I swear I couldn't see it (My husband said he could tho )     I was so excited after a few minor issues such as sewed the sleeve on backwards, broke the strings on the ruffle, and sewed on the ruffle with the seams facing out.. whoops... It was COMPLETE!!!!!

(I swear I couldn't see it...)


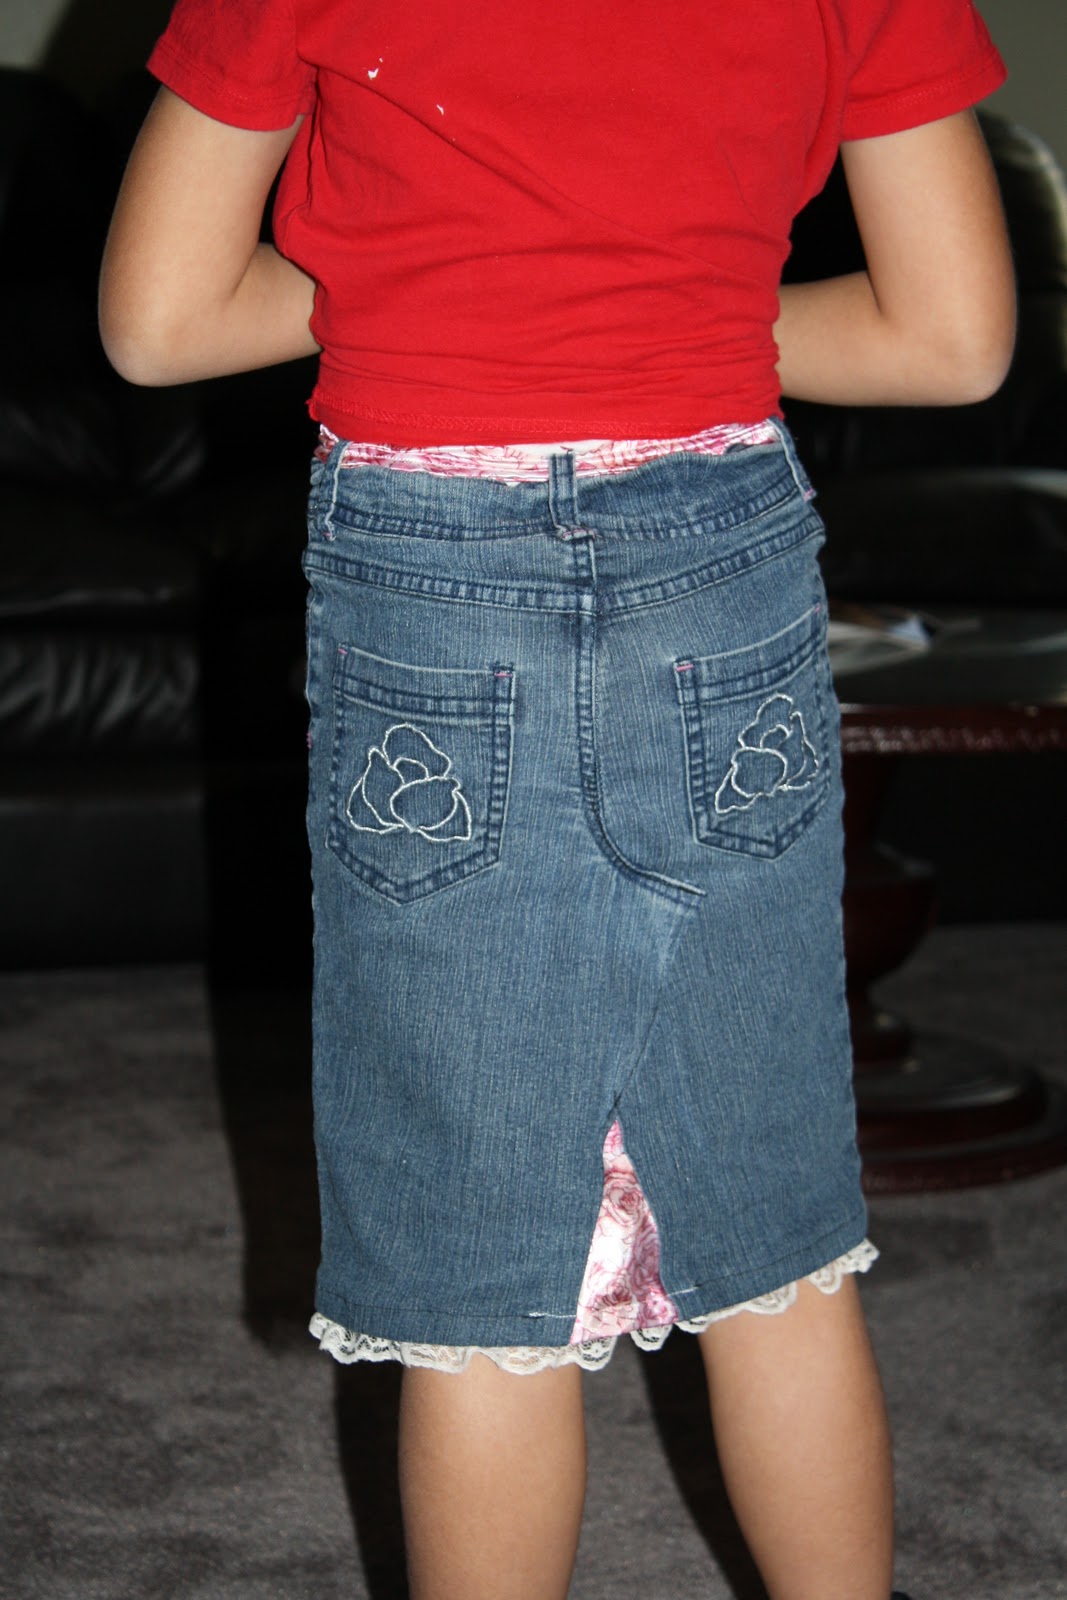
3rd- I made a skirt for complete with belt for Beka. I found it in this book -
It was fairly easy to make. I used a pair of jeans that she had gottin just about to big for, but with the seams for the legs ripped out it gave her more space for her bottom to fit!  Woo- Hoo !    (Note to self- do NOT put the pretty lace on the bottom of a skirt at knee length.. She came home from school with rug like burns on the back of her knees... )   I even made sure that the skirt followed the school rules of shorts underneath. I made a pair of white shorts out of one of my sons old tee shirts and sewed them into the skirt!  She was soooooo happy!


So that's what I've been up to.

Thank you for visiting my piece of life..... Jenn