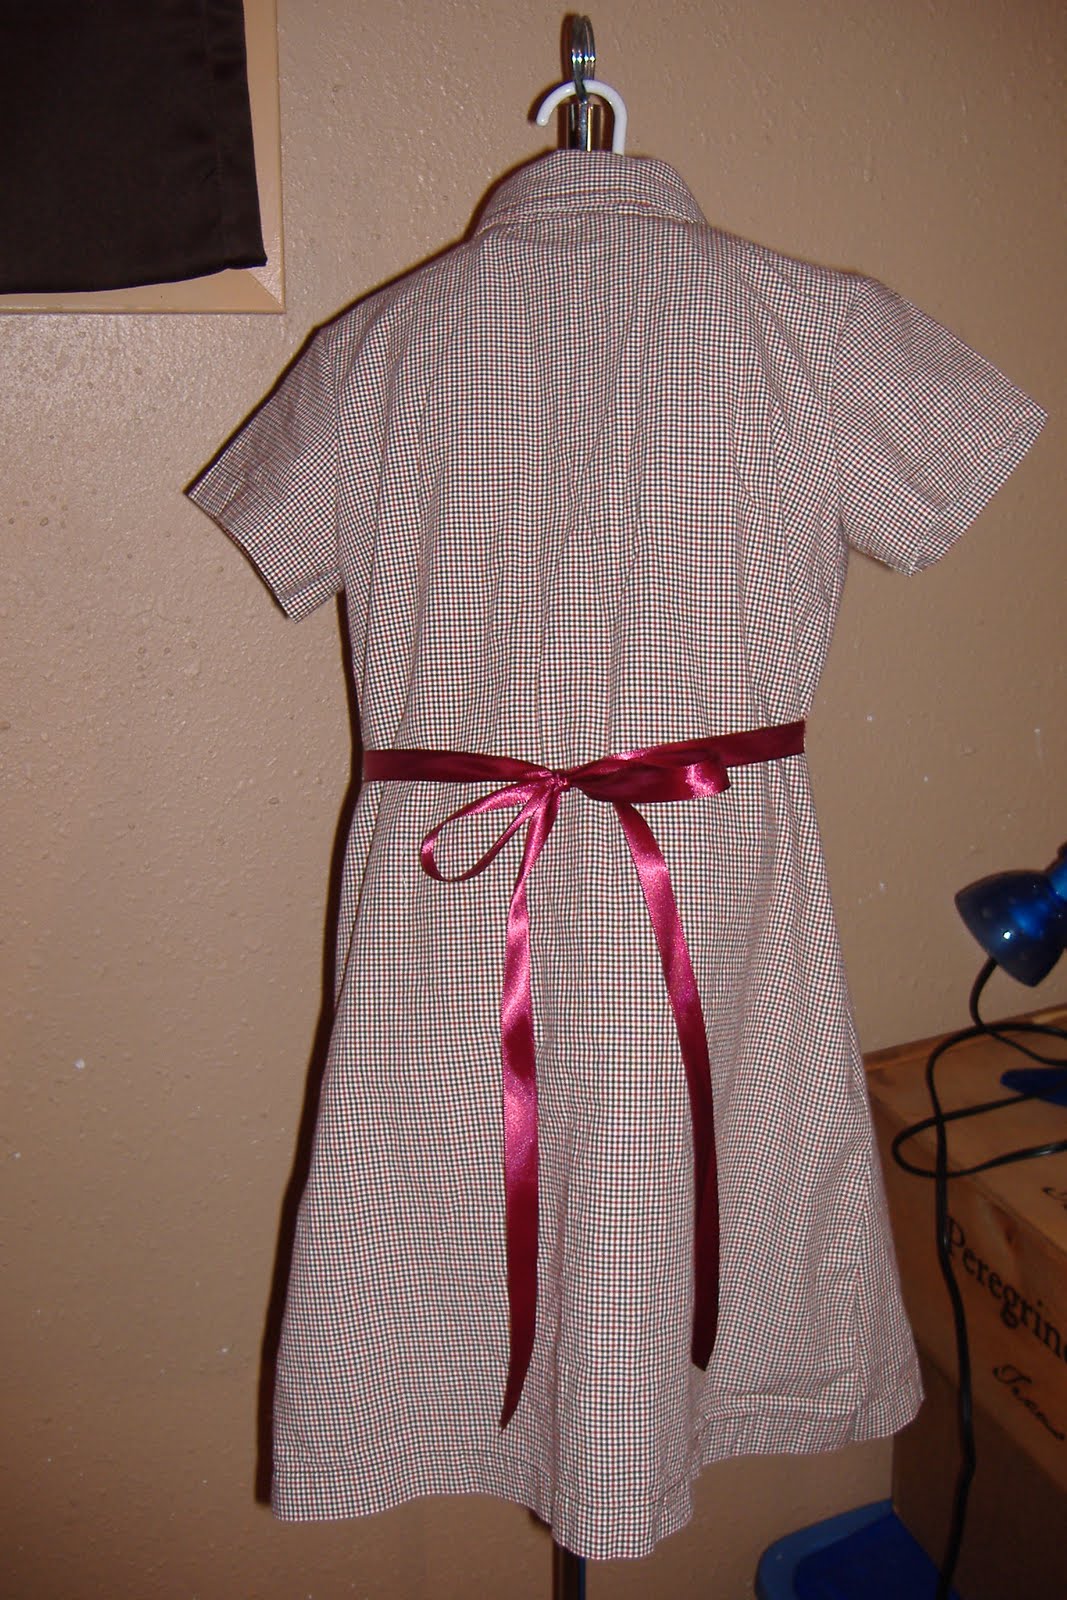
Here is the tank dress I promised. I took a tank top, cut just below the armholes and sewed gathered fabric to the bottom to make the skirt part... It took approx. 20 min to make this simple summer dress.
(don't you just love Dollykin???)
Tuesday, May 18, 2010
Wednesday, May 12, 2010
Just tinkering....
I was just fidgeting last night- I took a plain white tank top and cut it across right below the arm holes.. I took one of my tee shirts and chopped the bottom off and gathered it. I attached it to the tank top. Made some sleeves from my shirt .... added a flower and embroidered a leaf and a stem.
What do you think?
Oh, so much to do!
Have you ever started so many projects that one gets set aside to finish another.. then " Oh, I wanna try to make that!!" Right now I'm in the middle of multiple projects... I have decided that I need to finish all the ones I've started before I start any more.. (we'll see how that works for me... lol) But, I would like to show you the finished shirt I've made for me!!!
It is a Simplicity 3893
It started as a size 24 per the the requirements on the package-
But when I completed it, it looked like "Omar the tentmaker" made it! It was huge!!!
Luckily, I was able to bring in aprox. 1 inch on both sides from the sleeve to the bottem hem. That was 4 inches total off!!!! I think next time I will make a 20 instead...
Oh, by the way, when get a new pattern I always copy them onto another paper (wrapping paper works wonderfull) using my rollie stick thing ( so technical am I???)
I lay the pattern on the wrapping paper and roll around the lines so when I lift the pattern, the marks copied. that way I don't cut one specific size out.. (great for growing children) Then I cut out the wapping paper. It's much stronger then the tissue paper thin patterns and lasts longer.
Please, tell me what you think of the shirt!
Sunday, May 9, 2010
Mother's Day!
To all of my friends out there who are mothers- Happy Mother's Day!!!
Here is my gift to you!
The Twelve Roses stand for-
1st- For all those loads of laundry.....
2nd- For all the kisses on a cut knee.....
3rd- For loving to get up in the middle of the night for feedings...
4th- For working as hard as you do to make sure your children get what they need.....
5th- Keeping calm, when you find out the school project is due the next day.....
6th- For your discipline.....
7th-For the hugs during the first dating brake-up....
8th- For selling the most for the school fundraisers.....
9th- Not swearing when you stepped on all those little Lego's at night that had been left on the floor ....
10th- For changing all those dirty dipers....
11th- For seeming like you have a camera for a f'ace to capture all the memories....
12th- Your unconditional love!!!
Monday, May 3, 2010
Sunday, May 2, 2010
Men's shirt dress turned Girl's Dress
I know we see soooo many of these, so I must try one my way... I try to do the easiest way possible.
Here is a picture of the original shirt-
It is a Old Navy size men's small.
I folded it in half ( in pic button's facing left)
I used the same pattern that I used for the Care Bear dress I made last week. The shirt is a little bit shorter then the bottom of the pattern, but i figure it will go to right above the knee. I lined up the shoulder of the pattern to the shoulder of the shirt and cut the side and arm holes.
At this point, you should have this....
This is the shirt- dress laid out!!!!
I've decided that I want to add ribbon for the back ties- I do that now. I place the dress on Dollykin. ( That is the name I came up with for the duct tape dress form I made of my daughter) I find the waist and pin the ribbons on.
I sew the sides of the dress closed from the sleeve holes to the hem. Notice how I sew the ribbon into the dress side.. Make sure to backstich over the ribbon a few times, you don't want it being pulled out.
Now your dress should look like this- Lets move on, shall we?
Now, we make the sleeves! I placed the sleeve pattern on the sleeves of the shirt with both the pattern and sleeves folded. Cut both sleeves at the same time. I seem to see that alot of people have problems with sleeves so I will give a mini-turtorial on how I put in sleeves.

Now you should have this....
Sew the bottom of the sleeve together at the under arm.
Put sleeve into the dress-
in pic the dress is inside out and my thumb is touching the right side of the sleeve. slide the sleeve into the dress.
Pin the sleeve in the dress starting at the armpit. Pin every 1/2 inch or so. I advise to pin only in one direction on the inside or the ouside- I use the inside. It's easier for me to sew that way. Smooth the sleeve and the dress hole together as you pin. You should'nt have any extra sleeve left when pinned all around.
I sew on the sleeve side. I sew over my pins, I just slow down at each one so I don't hit one. You can take them out as you come to them if you choose, but be careful that the material dosn't shift.
Woo-Hoo!!! We did it!!!!! Now we're done partying over that, we get to go back and do the other one.. :)
I decieded to sew the ribbon on the pocket and sew it right below the waist.
Guess what???????? WE'RE DONE!!!!!!!!!
I hope this was understandable. If you have any questions, please ask.. this project took me about a hour to complete.
Here is a picture of the original shirt-
It is a Old Navy size men's small.
I folded it in half ( in pic button's facing left)
I used the same pattern that I used for the Care Bear dress I made last week. The shirt is a little bit shorter then the bottom of the pattern, but i figure it will go to right above the knee. I lined up the shoulder of the pattern to the shoulder of the shirt and cut the side and arm holes.
At this point, you should have this....
This is the shirt- dress laid out!!!!
I've decided that I want to add ribbon for the back ties- I do that now. I place the dress on Dollykin. ( That is the name I came up with for the duct tape dress form I made of my daughter) I find the waist and pin the ribbons on.
I sew the sides of the dress closed from the sleeve holes to the hem. Notice how I sew the ribbon into the dress side.. Make sure to backstich over the ribbon a few times, you don't want it being pulled out.
Now your dress should look like this- Lets move on, shall we?
Now, we make the sleeves! I placed the sleeve pattern on the sleeves of the shirt with both the pattern and sleeves folded. Cut both sleeves at the same time. I seem to see that alot of people have problems with sleeves so I will give a mini-turtorial on how I put in sleeves.
Now you should have this....
Sew the bottom of the sleeve together at the under arm.
Put sleeve into the dress-
in pic the dress is inside out and my thumb is touching the right side of the sleeve. slide the sleeve into the dress.
Pin the sleeve in the dress starting at the armpit. Pin every 1/2 inch or so. I advise to pin only in one direction on the inside or the ouside- I use the inside. It's easier for me to sew that way. Smooth the sleeve and the dress hole together as you pin. You should'nt have any extra sleeve left when pinned all around.
I sew on the sleeve side. I sew over my pins, I just slow down at each one so I don't hit one. You can take them out as you come to them if you choose, but be careful that the material dosn't shift.
Woo-Hoo!!! We did it!!!!! Now we're done partying over that, we get to go back and do the other one.. :)
I decieded to sew the ribbon on the pocket and sew it right below the waist.
Guess what???????? WE'RE DONE!!!!!!!!!
I hope this was understandable. If you have any questions, please ask.. this project took me about a hour to complete.
Wednesday, April 28, 2010
Good old fashion spring cleaning-
Well, I've been trying to see how I can make my sewing room more efficient. In my room I have ALOT!!!!! Ironing board, a wooden workbench, desk with a sewing machine, newly added bookcases, and a really big round wooden table on wheels (used to me my great grandmothers).... So far I've refolded my material ( see tut- http://featheredfibers.wordpress.com/2008/02/28/fabric-stash-organization-and-tutorial/ thanks Carla!) and move in the bookcases. Boy, that is alot.. and I really haven't done much. Little by little, right??? I will post pics when complete.
Subscribe to:
Posts (Atom)