


Monday, May 3, 2010

Sunday, May 2, 2010
Men's shirt dress turned Girl's Dress
I know we see soooo many of these, so I must try one my way... I try to do the easiest way possible.
Here is a picture of the original shirt-
 It is a Old Navy size men's small.
 I folded it in half ( in pic button's facing left)
I used the same pattern that I used for the Care Bear dress I made last week. The shirt is a little bit shorter then the bottom of the pattern, but i figure it will go to right above the knee. I lined up the shoulder of the pattern to the shoulder of the shirt and cut the side and arm holes.
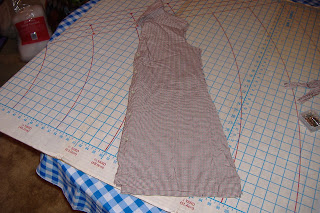 At this point, you should have this....
 This is the shirt- dress laid out!!!!
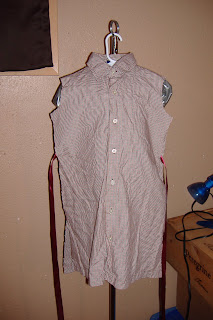
I've decided that I want to add ribbon for the back ties- I do that now. I place the dress on Dollykin. ( That is the name I came up with for the duct tape dress form I made of my daughter) I find the waist and pin the ribbons on.
 I sew the sides of the dress closed from the sleeve holes to the hem. Notice how I sew the ribbon into the dress side.. Make sure to backstich over the ribbon a few times, you don't want it being pulled out.

Now your dress should look like this- Lets move on, shall we?
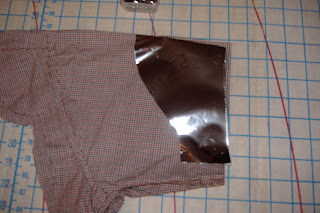 Now, we make the sleeves! I placed the sleeve pattern on the sleeves of the shirt with both the pattern and sleeves folded. Cut both sleeves at the same time. I seem to see that alot of people have problems with sleeves so I will give a mini-turtorial on how I put in sleeves.

Now you should have this....
 Sew the bottom of the sleeve together at the under arm.
 Put sleeve into the dress-
in pic the dress is inside out and my thumb is touching the right side of the sleeve. slide the sleeve into the dress.
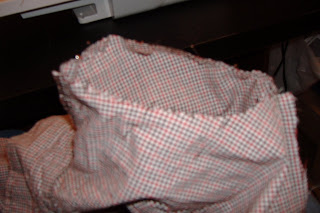 Pin the sleeve in the dress starting at the armpit. Pin every 1/2 inch or so. I advise to pin only in one direction on the inside or the ouside- I use the inside. It's easier for me to sew that way. Smooth the sleeve and the dress hole together as you pin. You should'nt have any extra sleeve left when pinned all around.
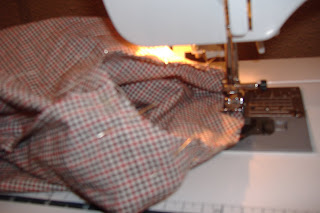
I sew on the sleeve side. I sew over my pins, I just slow down at each one so I don't hit one. You can take them out as you come to them if you choose, but be careful that the material dosn't shift.

Woo-Hoo!!! We did it!!!!! Now we're done partying over that, we get to go back and do the other one.. :)
 I decieded to sew the ribbon on the pocket and sew it right below the waist.
Guess what???????? WE'RE DONE!!!!!!!!!

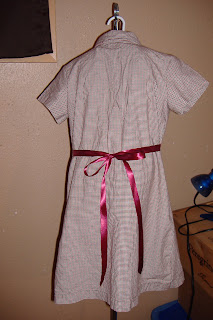
I hope this was understandable. If you have any questions, please ask.. this project took me about a hour to complete.
Here is a picture of the original shirt-


I used the same pattern that I used for the Care Bear dress I made last week. The shirt is a little bit shorter then the bottom of the pattern, but i figure it will go to right above the knee. I lined up the shoulder of the pattern to the shoulder of the shirt and cut the side and arm holes.


I've decided that I want to add ribbon for the back ties- I do that now. I place the dress on Dollykin. ( That is the name I came up with for the duct tape dress form I made of my daughter) I find the waist and pin the ribbons on.


Now your dress should look like this- Lets move on, shall we?


Now you should have this....


in pic the dress is inside out and my thumb is touching the right side of the sleeve. slide the sleeve into the dress.


I sew on the sleeve side. I sew over my pins, I just slow down at each one so I don't hit one. You can take them out as you come to them if you choose, but be careful that the material dosn't shift.

Woo-Hoo!!! We did it!!!!! Now we're done partying over that, we get to go back and do the other one.. :)

Guess what???????? WE'RE DONE!!!!!!!!!

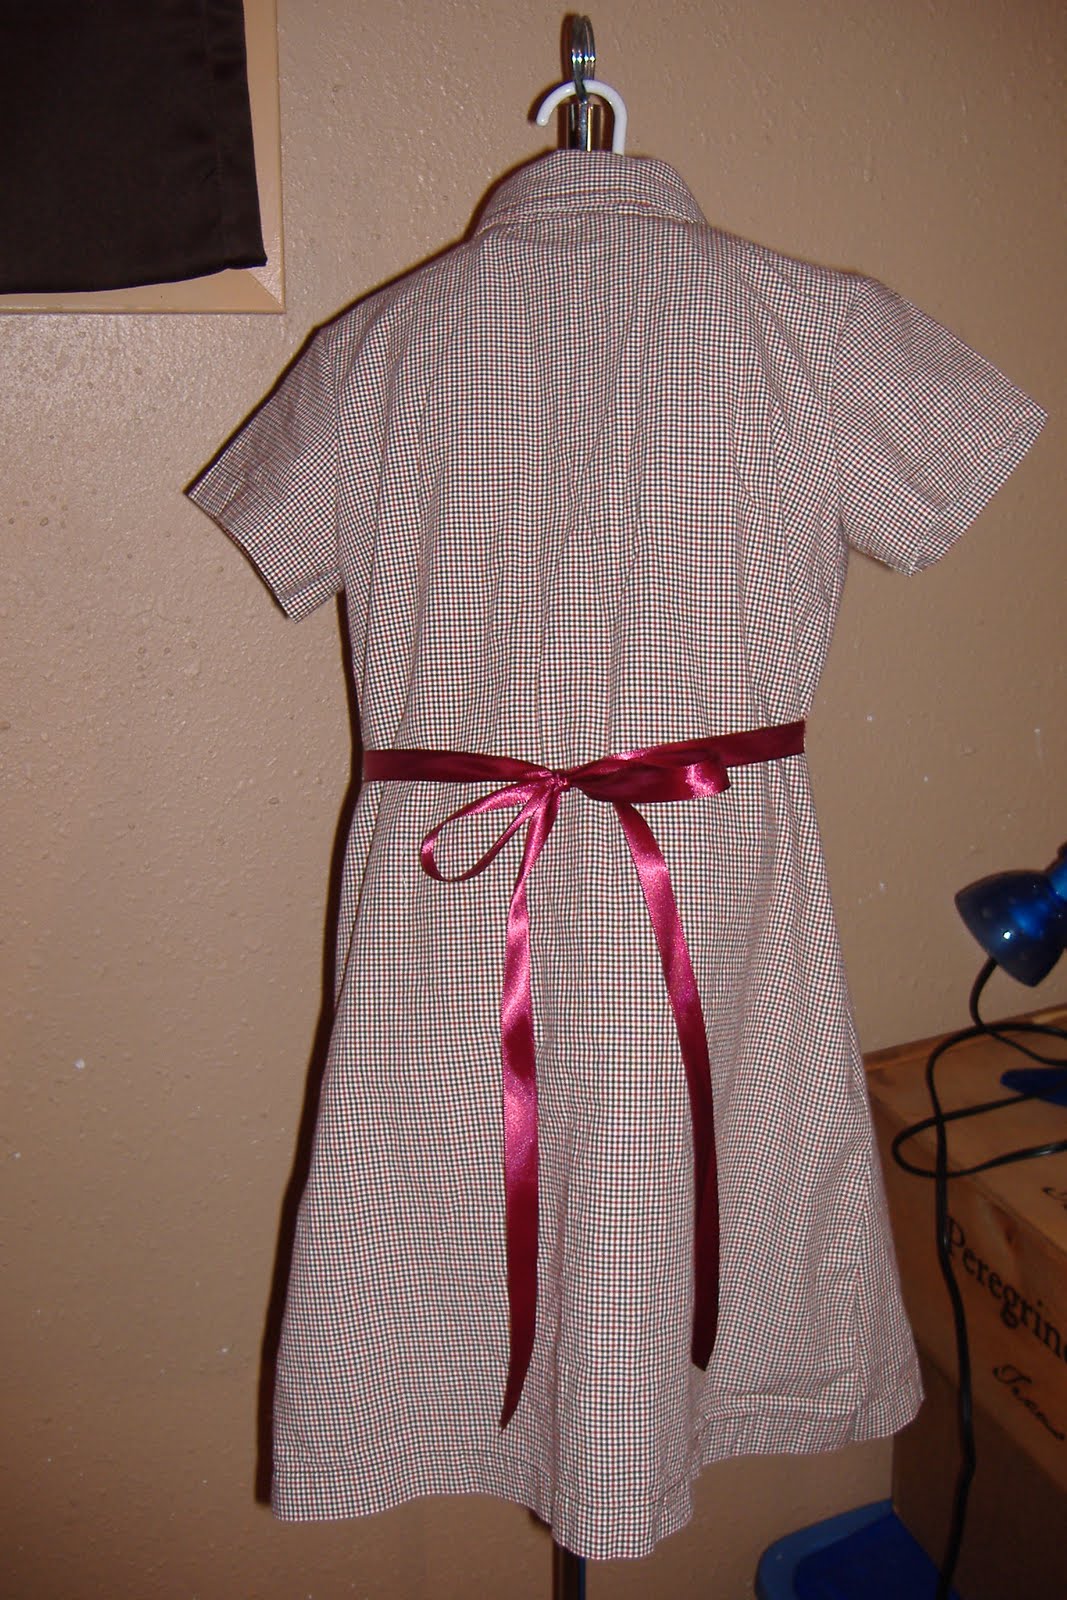
I hope this was understandable. If you have any questions, please ask.. this project took me about a hour to complete.
Wednesday, April 28, 2010
Good old fashion spring cleaning-
Well, I've been trying to see how I can make my sewing room more efficient. In my room I have ALOT!!!!! Ironing board, a wooden workbench, desk with a sewing machine, newly added bookcases, and a really big round wooden table on wheels (used to me my great grandmothers).... So far I've refolded my material ( see tut- http://featheredfibers.wordpress.com/2008/02/28/fabric-stash-organization-and-tutorial/ thanks Carla!) and move in the bookcases. Boy, that is alot.. and I really haven't done much. Little by little, right??? I will post pics when complete.
Sunday, April 25, 2010
Oh' Boy....
We always see all the cool and colorful clothing and projects made for the little girls.... all the flowers, lace and ruffles. But, rarely is there anything out there for the boys. No manly projects. My son, Dan, watches me make all the clothes for the girls, but never for him.... I decided to make a vest for him using a pair of old jeans that no longer fit. I had him take off the back pockets and the zipper with the seam ripper. ( He liked doing that, I think I'll keep him around for the goof ups I do! lol) We didn't have a pattern.. So we made one with a plain white Tee shirt.. You should have seen the look on his face.. We layed the shirt out and I started rotary cutting away!!! Up the front- swipe.. sleeves- swipe... shoulder seams- swipe... side seams-swipe... His eyes just about came out of his head! ( where was my camera then... ;) ) I got the pattern tho! We layed the pieces out on the jeans and then cut some more.. I assembled it and sewed it late in the night for a few nights but this is what I came up with-
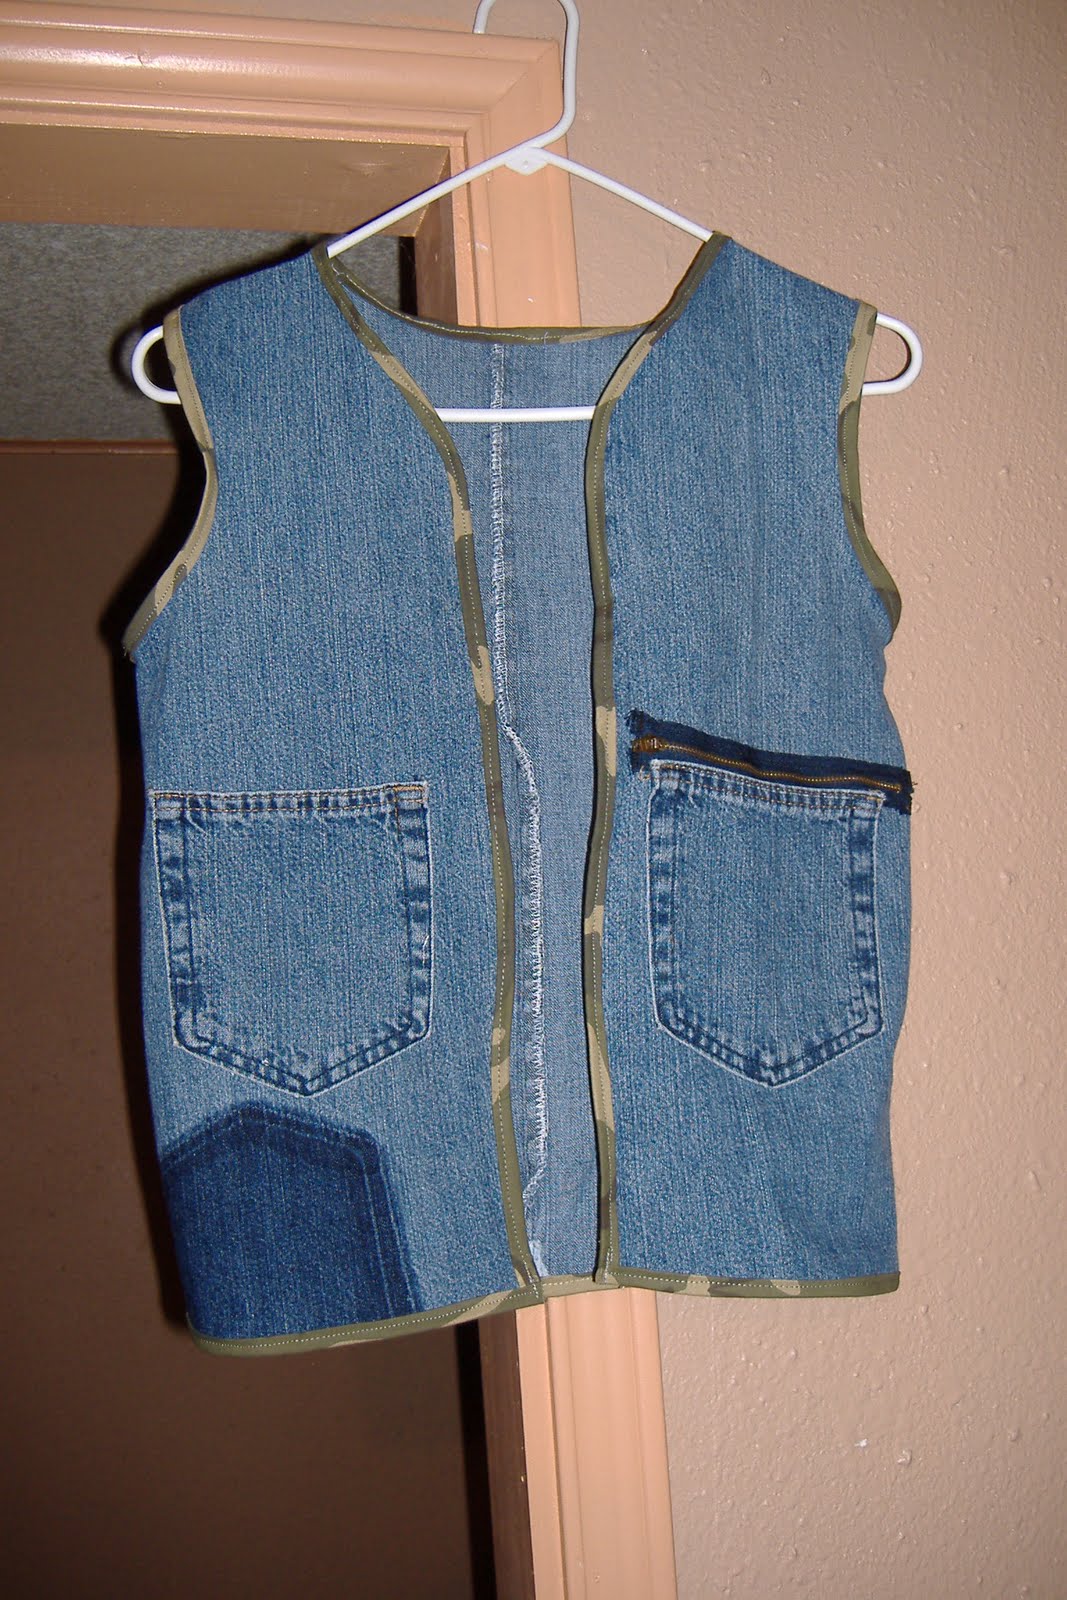

You noticed the dark spots where the original pockets were??? and I used the zipper to close one of the front pockets.... He thought this was the coolist thing in the world. I also used some camo material we had to make a bias tape for around the whole vest. ( woo-hoo , no hemming!!!!!)
That is the newist project... until next time!
Thursday, April 22, 2010
Some of my finished projects-
 Where has the time gone? It is comming to the end of April.
Soon school will be out and summer has finally arrived..
Here is some of my recently finished projects-
I just last night finished this wonderfully Buzy Care Bear dress for my Mandi. Do you think the ribbon tones down how busy it is?? I think it gives a break in the pattern very well. I understand little girls love every thing about bright colors and patterns, but me not as much....
I know your dying to know what I have it hanging on.. ( You probibly haven't noticed it at all) Let is back up a week or so-
I had been reading about making your own dress form. Since I do most of the sewing for the girls at night, I NEEDED a form !!!
Simple Instructions-
Step One- Find a fairly happy child and put her in a tee shirt (make sure the shirt doesn't mean anything, cause the child will not get it back)
Step Two- Start wrapping the duct tape around her using 1 foot pieces. Try to get it snug, but not too tight... Child NEEDS to breath!! When finished wrapping the child will look something like this-

Boy, she looks soooo happy??? (every minute she was saying " Mom, are we done?? I can't breath...")
I put the blue electrical tape around her to help when putting it back together... you'll see.
I put the blue electrical tape around her to help when putting it back together... you'll see.
Step Four- VERY carefully, cut up the back between the child and the teeshirt/tape mold. When totally cut, child will slide right out!
Step Five- Retape the mold together using the blue tape as the markers to line up with. (The tape will help you not to put the mold back together crooked)
Step Six- I put a child coat hanger inside it for hanging and I also added a piece of cardboard taped cross wise from the chest to the back so the mold wouldn't collapse.

See isn't she happy now???? (She could breath again!!!)
I also finished a elastic shirred top for Beka-
I also finished a elastic shirred top for Beka-


 Did you notice the ribbin I used came to a "v" in the back. It keeps the straps from sliding off!!!
Monday, February 15, 2010
Welcome-
Welcome to my blog... Please be patient with me as I get the hang of this. I have always thought of this as an online journal. I've never been to sure of having people outside my head, hear and see my thoughts. (I have enough issues knowing my thoughts sometimes) lol. You will probibly see my family grow and see the trials we go thru on a day to day basis. You will hear of the creative and ever changing projects that we are doing. I will try to share what is in my heart as open as I can. Sometimes it may make sense and sometimes maybe not. I apologize in advance for the sometimes maybe not. :)
Subscribe to:
Posts (Atom)

